Mounting the Partitions
The procedure for mounting a memory partition is an activity of the operating system to ensure that the transfer of information will be done correctly, basically the connected device is read in its entirety to identify the files stored in it and where new information can be written to without overlapping data.
To do this, open the terminal and enter the commands below:
# Comando para montar a partição boot
$ sudo mount −t vfat /dev/<mmcblk0p>1/  media/<UserName>/boot

# Comando para montar a partição rootfs
$ sudo mount -t ext4 /dev/<mmcblk0p>2/  media/<UserName>/rootfs
Note
The two names in <> must be changed. About UserName should be changed to the login name of the machine in use and about mmcblk0p should be changed to the name of the file that the system automatically creates when it recognizes the card for the first time and that file will be present in /dev with name similar to mmcblk0p. To display the media devices connected to your computer, run the command df -hT.
Tip
Alternatively, it is possible to carry out the process of assembling the microSD card partitions following the procedure 8 of the topic Procedures - Partitioning the SD Card. The expected result is the same.
Copy and Extraction Files
Copy
Two files named MLO and u-boot.img must be copied to the boot partition of the memory card. For this, the following commands must be executed inside the folder that contains the images or correctly specifying the location of the files. We recommend that you enter the images folder, as it is possible to write the image more efficiently.
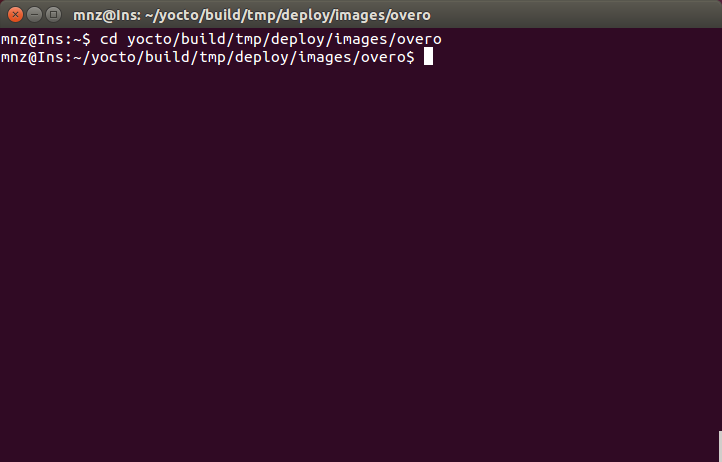
The folder containing the image files is located in /yocto/build/tmp/deploy/images/overo and can be accessed by the command:
$ cd /yocto/build/tmp/deploy/images/overo
After these commands, the terminal will be like the image below:
After the previous steps, enter the following commands:
$ sudo cp MLO /media/<UserName>/boot/
$ sudo cp u-boot.img /media/<UserName>/boot
Extraction
With the terminal still in the folder /yocto/build/tmp/deploy/images/overo, the same where the file copy procedure was performed, enter the following command to extract the system directory:
$ sudo tar -xjvf gumstix-console-image-overo.tar.bz2 -C /media/<UserName>/rootfs
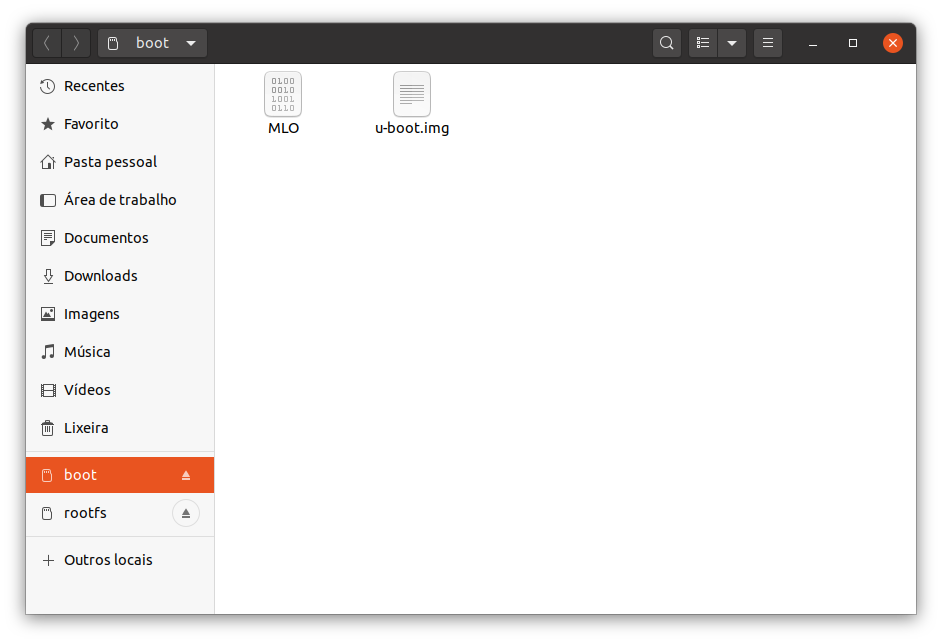
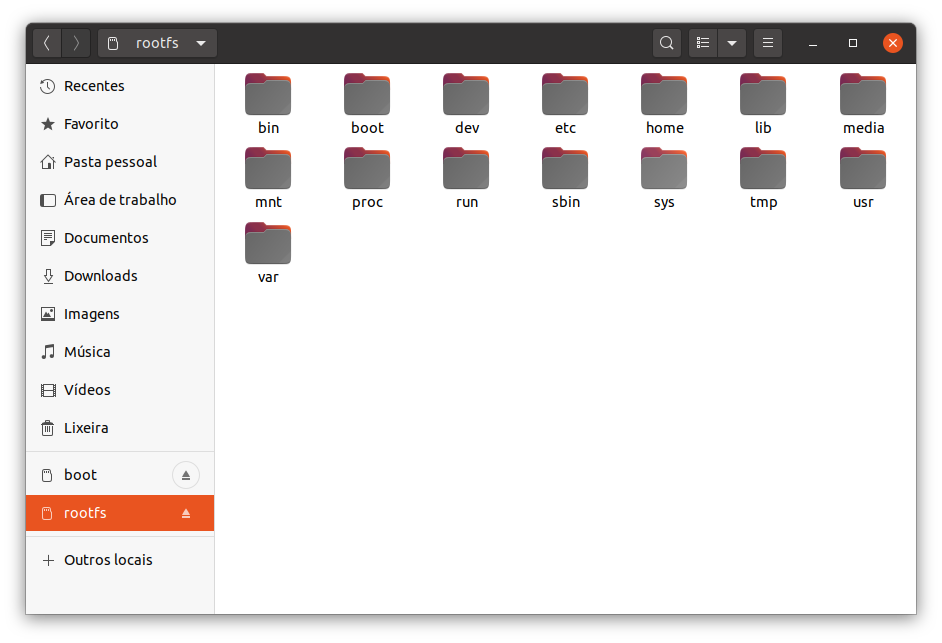
Result on the Memory Card
Boot partition:
Rootfs partition:
Tip
Remember to unmount the partitions before removing the SD card.
References
- Create Bootable MicroSD Card - gumstix.com
- PITA, H. C. Desenvolvimento de sistema de comunicação multiplataforma para veículos aéreos de asa fixa. Faculdade de Tecnologia, Universidade de Brasília, 2018.